Getting Started
How to Get Started
Once you're logged into the EventStudio Web App, follow the steps below to experience your first AI photo booth session using Event 2 (MultiSwap) — preconfigured for both single portraits and group photos.
1. Start the Experience
- On the homepage, click “Start the Experience.”
- Select Event 2 (MultiSwap) — this preset event demonstrates our group AI transformations in both realistic and stylized modes.

2. Allow Camera Access
- After selecting your event, your browser will ask for camera access.
Click “Allow” — this is required for the photo booth. - Once the camera preview appears, confirm the correct camera is active, then click “Continue.”
If your camera is not detected or access fails, visit our:
How to Set Up Your Camera (Especially DSLR Cameras)
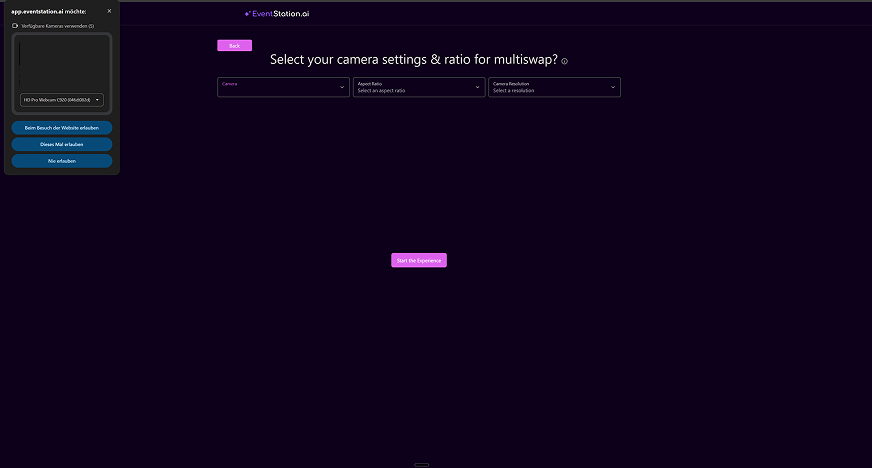
Tip:
To correctly use MultiSwap with printing, ensure you configure the aspect ratio and camera resolution properly as shown below.
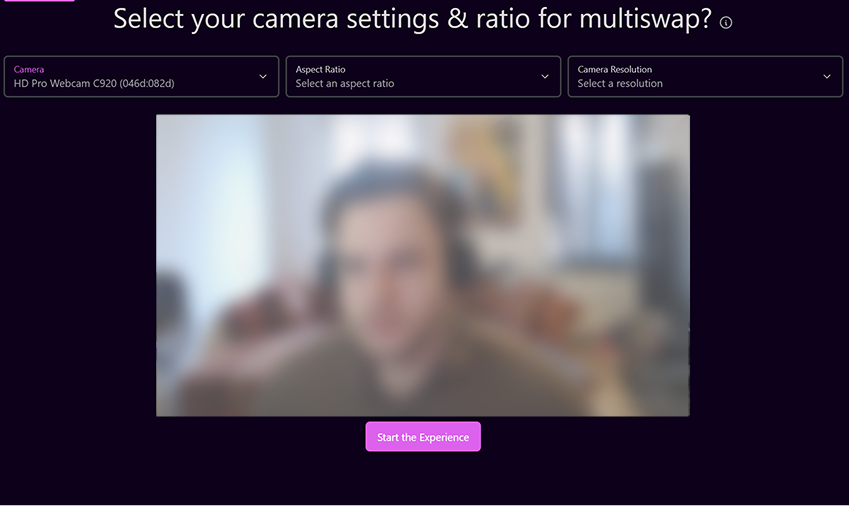
- Define the aspect ratio using the Aspect Ratio selector.
- Set the camera resolution as needed.
- FaceSwap filter ratios are defined in the Event Creator settings.
How to Define the Ratio of my AI-Images
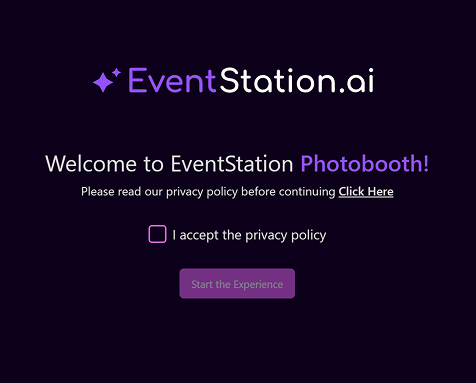
3. Accept the Privacy Policy
- Review and accept the Privacy Policy before continuing.
This ensures proper consent for image capture and AI processing.
4. Select Capture Mode
Choose how many people will be in the photo:
Single Person Mode
- For individual portraits.
- Uses the FaceSwap model.
- Choose this mode if only one person is in front of the camera.
Group Mode (1–5 persons)
- For group photos and multi-person scenes.
- Uses the MultiSwap model (supports up to 5 faces).
- Automatically applies your selected style to everyone in the frame.
Within Group Mode, choose between:
- MultiSwap Realistic
Produces lifelike, natural-looking results. - MultiSwap Stylized
Creates creative, artistic visual transformations.
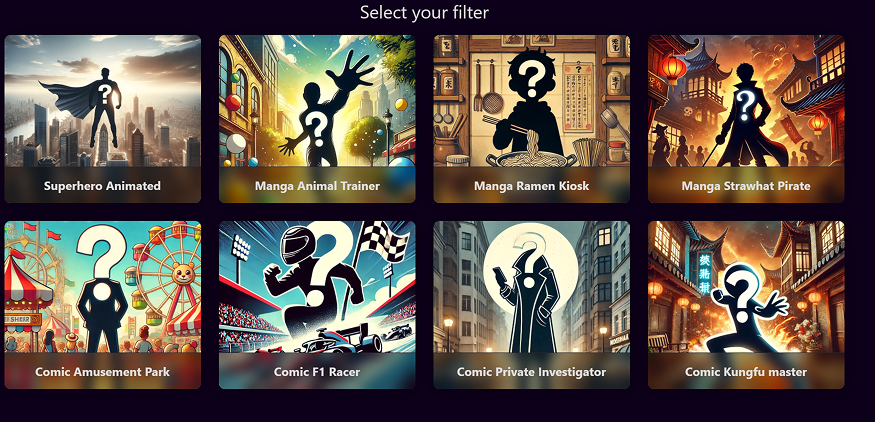
5. Select AI Filter
- Choose one of the available AI filters you would like to try.
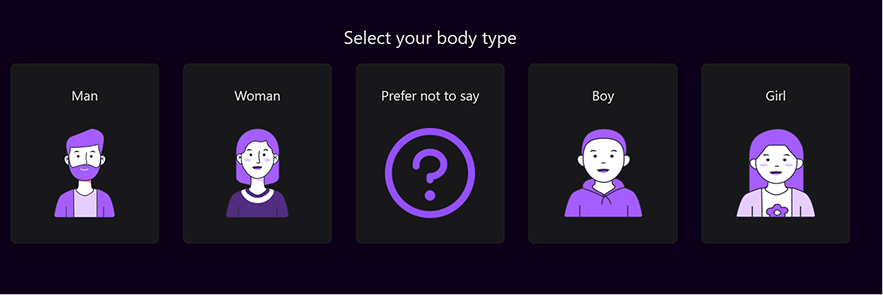
6. Select Gender
- You will be prompted to select the gender of the person or group.
This ensures accurate and well-balanced AI results across all styles.
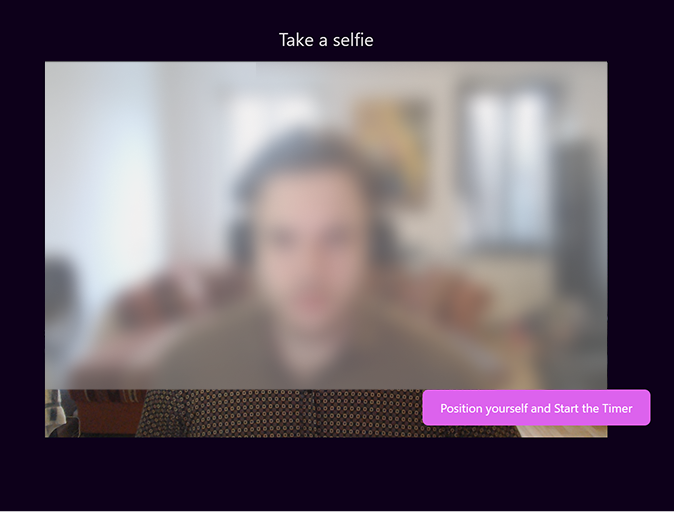
7. Take a Selfie
- Click “Position yourself and Start the Timer.”
- A countdown begins, giving participants time to pose.
- The image is then captured automatically.
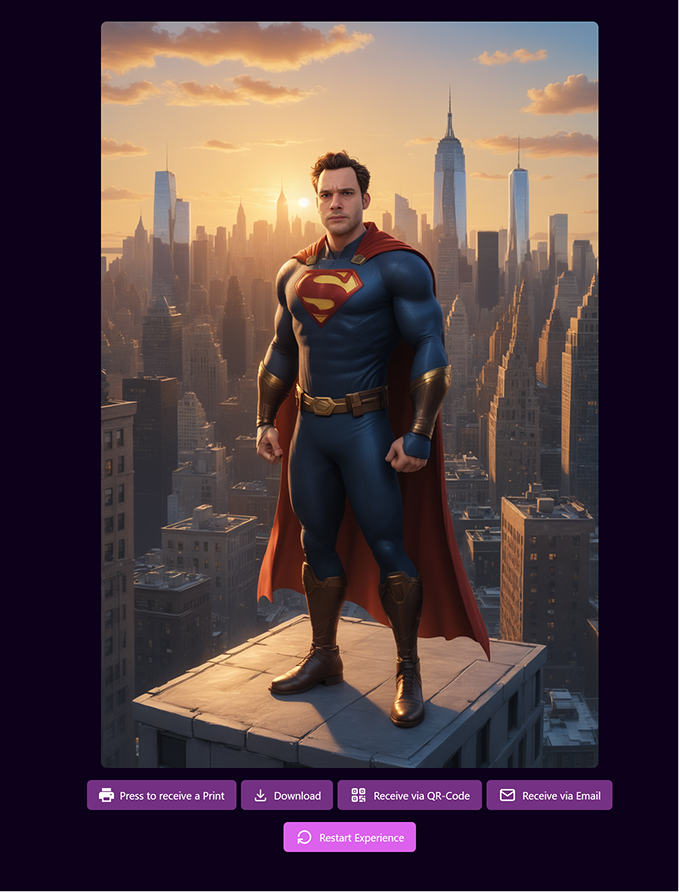
8. View the Result
After processing, your generated image appears on screen. You can:
- Download, email, or print the image
- Reapply the same filter
- Randomize filters for new variations
- Restart the experience to try another setup
You can generate as many images as you like or move on to creating your own custom events.
Next Step
In the next guide, we’ll show you how to set up your first event and customize every step of the workflow.