WebApp Help Center > Media & Event Tools
Download Center
The Download Center allows you to easily manage and download all images generated during your events.
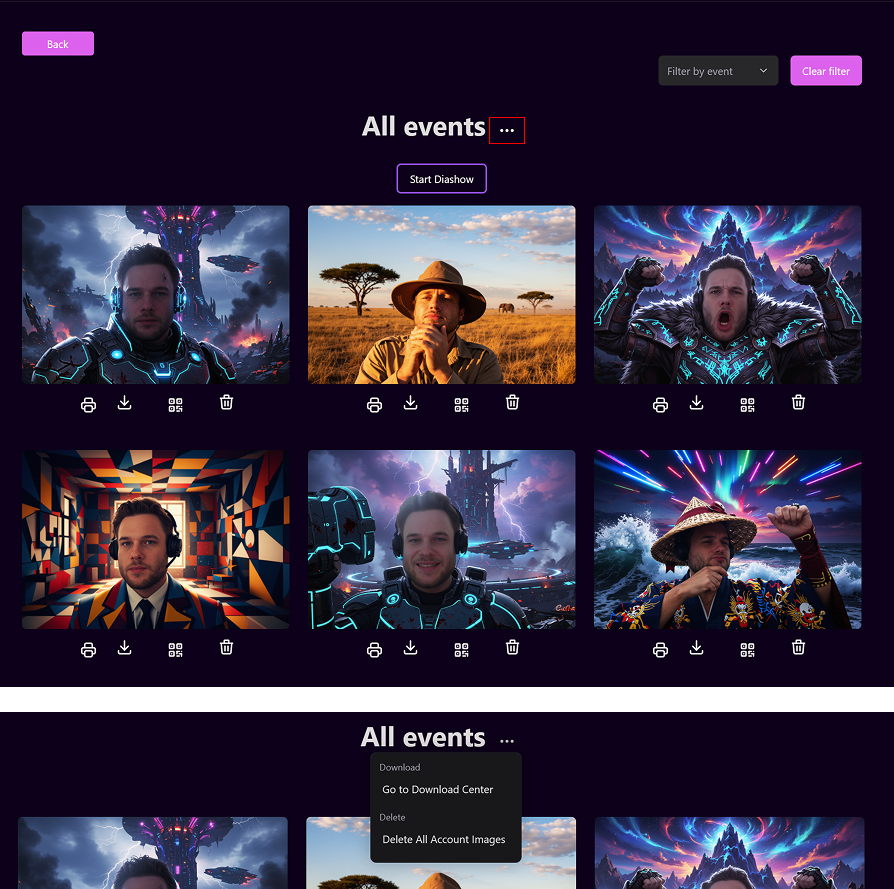
You can access it from the Gallery by clicking the three dots (⋯) at the top of the page.
💡 Tip:
The Download Center is perfect for quickly collecting photos from one or multiple events — especially after large activations.
Step 1: Open the Download Center
- In the Gallery, click the three dots (⋯) icon in the top-right corner.
- A dropdown will appear — select “Go to Download Center.”
Additional option in the dropdown:
- Delete All Account Images
Clears your entire gallery.
This gives you full control over storage and image management.
Step 2: View and Download Your Event Images
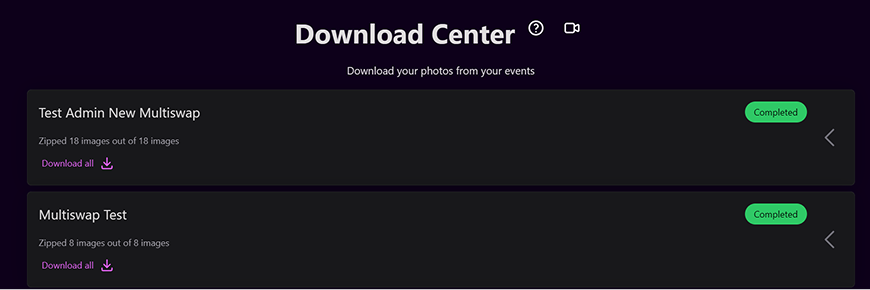
Once inside the Download Center, you'll see a list of all completed events, each displayed as a separate section.
Each event entry shows:
- Event name
- Number of zipped images
- Status label (e.g., Completed)
- “Download all” link — download all images as a ZIP file
⏳ Note:
It may take 1–2 days after your event for all images to be fully processed and available as downloadable ZIP files.
The status will automatically update to Completed once everything is ready.
If you’re unsure how to use the Download Center:
➡️ Click the Video icon to watch the tutorial.