Faceswap: Video Filter
Overview
In this guide, you will learn:
- What the Faceswap: Video Filter is
- Where to find the Video Filter feature
- How video filter creation works with Image2Filter
- The difference between Start Frame and Start & End Frame
- Which video mode is best for your use case
- How to create, preview, and test a video filter
- How to use Preview before generating the final video
- How to use Generate Video to animate your personalized image
- How to use Angle Creator for Start & End Frame videos
- How to create and name the final video filter
- How to use the saved video filter via API
What is the Video Filter Creator?
The Video Filter Creator allows you to create personalized AI video filters directly inside the dashboard.
A video filter is based on a personalized image.
This means the system first creates the personalized image with image 2 filter and then animates it into a video.
Where can I find the Video Filter Creator?
Open your dashboard.
In the bottom navigation, click “Video Filter.”
This opens the Video Filter Creator tab.
How does video filter creation work?
Video filter creation follows a two-step process:
- The system creates a personalized image via image 2 filter.
- The personalized image is animated into a video.
The image result is always the base for the final video.
💡 Tip:
Always check the image result first via preview before generating the video.
Available video modes
There are two video modes:
- Start Frame
- Start & End Frame
Both modes create videos from personalized images, but they are used for different types of results.
Start Frame
Use Start Frame when you want to define the beginning of the video.
The AI continues the scene from this starting image.
This mode is more open and creative.
Best for:
- Creative video shots
- Dynamic scenes
- Cinematic movement
- Natural person animations
- Open-ended video results
- Most general video filter use cases
Recommended:
For most video filters, we recommend using Start Frame.
Start & End Frame
Use Start & End Frame when you want to define both:
- The beginning of the video
- The end of the video
This gives you more control over the final result.
Best for:
- Controlled transitions
- Camera pans
- Perspective changes
- Defined start and end scenes
- Higher visual consistency
⚠️ Important:
Start & End Frame is limited to 9:16 and 16:9 aspect ratios.
Which mode should I use?
Use Start Frame if you want a flexible and creative result.
Use Start & End Frame if you need a clearly defined final frame or controlled camera movement.
| Use case | Recommended mode |
|---|---|
| General video filter creation | Start Frame |
| Creative open-ended animation | Start Frame |
| Dynamic person movement | Start Frame |
| Cinematic shot from one image | Start Frame |
| Defined start and end scene | Start & End Frame |
| Camera pan between two angles | Start & End Frame |
| Higher visual consistency | Start & End Frame |
| Perspective change | Start & End Frame |
Aspect ratio differences
Start Frame supports more common aspect ratios.
Start & End Frame supports:
- 9:16
- 16:9
Choose the aspect ratio before generating your video filter.
How to Create a Video Filter
Step 1: Open Video Filter
Open your dashboard.
Click “Video Filter” in the bottom navigation.
Step 2: Select your video mode
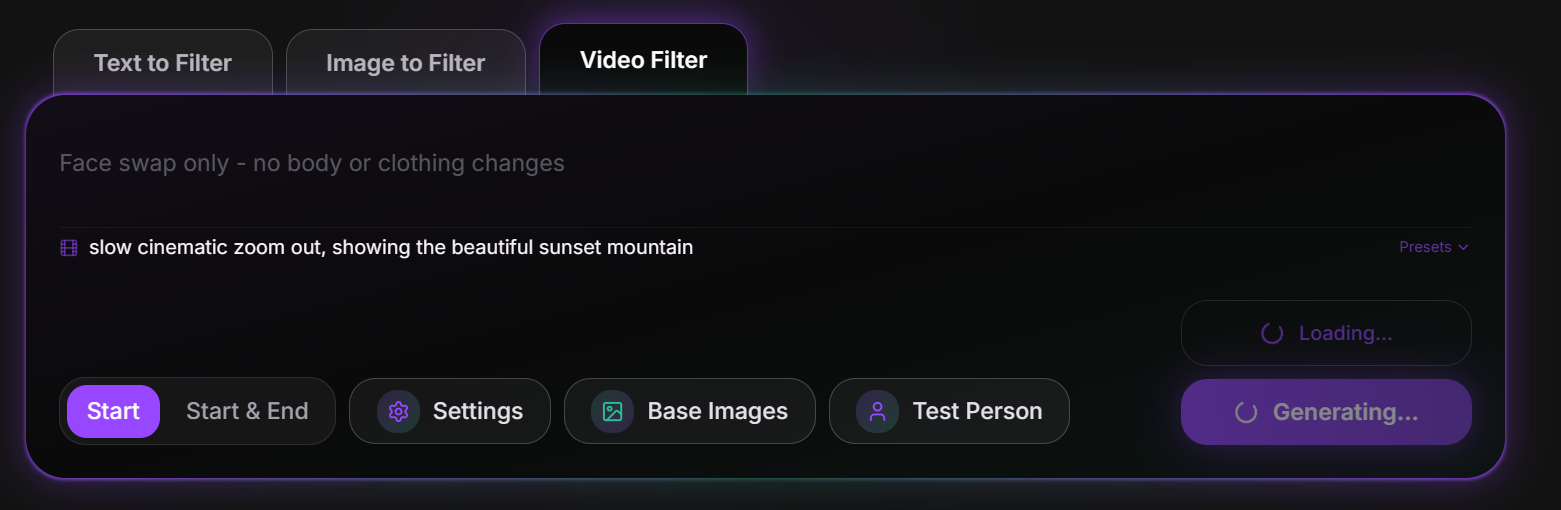
Choose your video mode:
- Start Frame
- Start & End Frame
Use Start Frame for most video filters.
Use Start & End Frame if you need a defined start and end scene.
Step 3: Define your settings
Define the settings based on your selected mode and base model.
This can include:
- Image ratio
- Video mode
- Image modell settings
Step 4: Upload your image
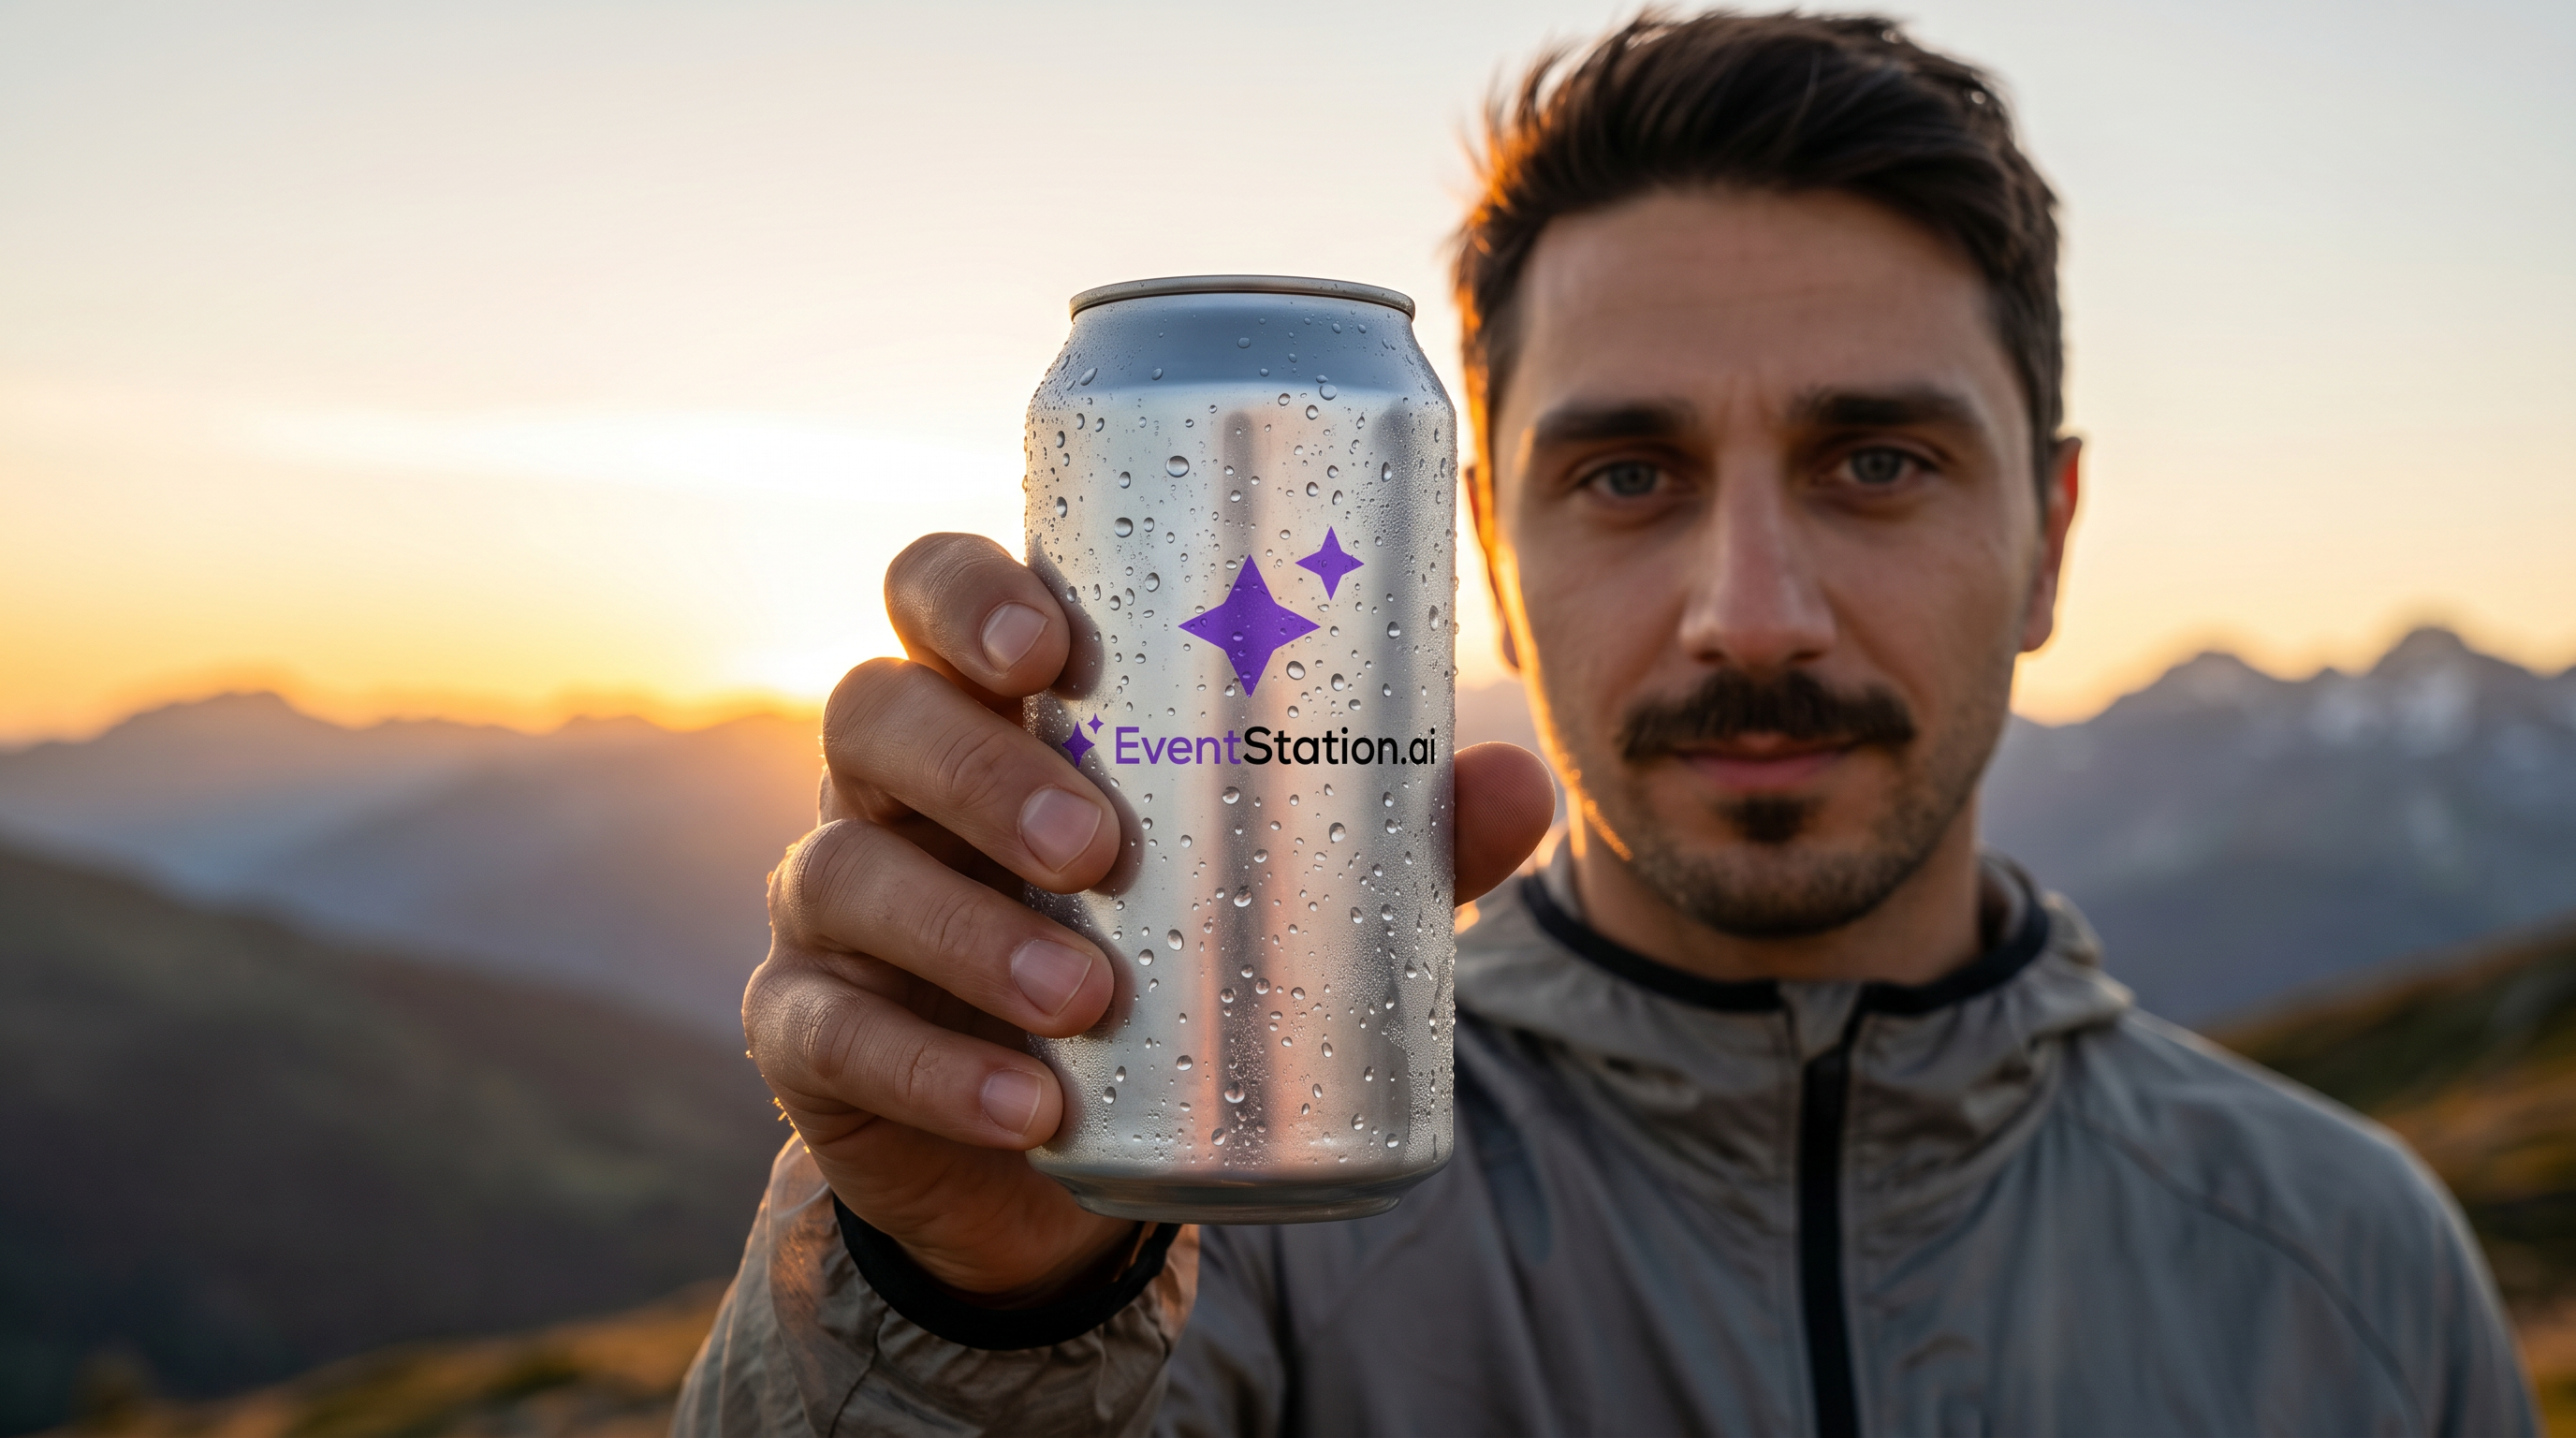
Upload the image you want to use as the base for your filter.
The system automatically prepares the image for the next steps.
This includes:
- Detecting the person
- Segmenting the image
- Preparing the image for personalization
Step 5: Write your video prompt
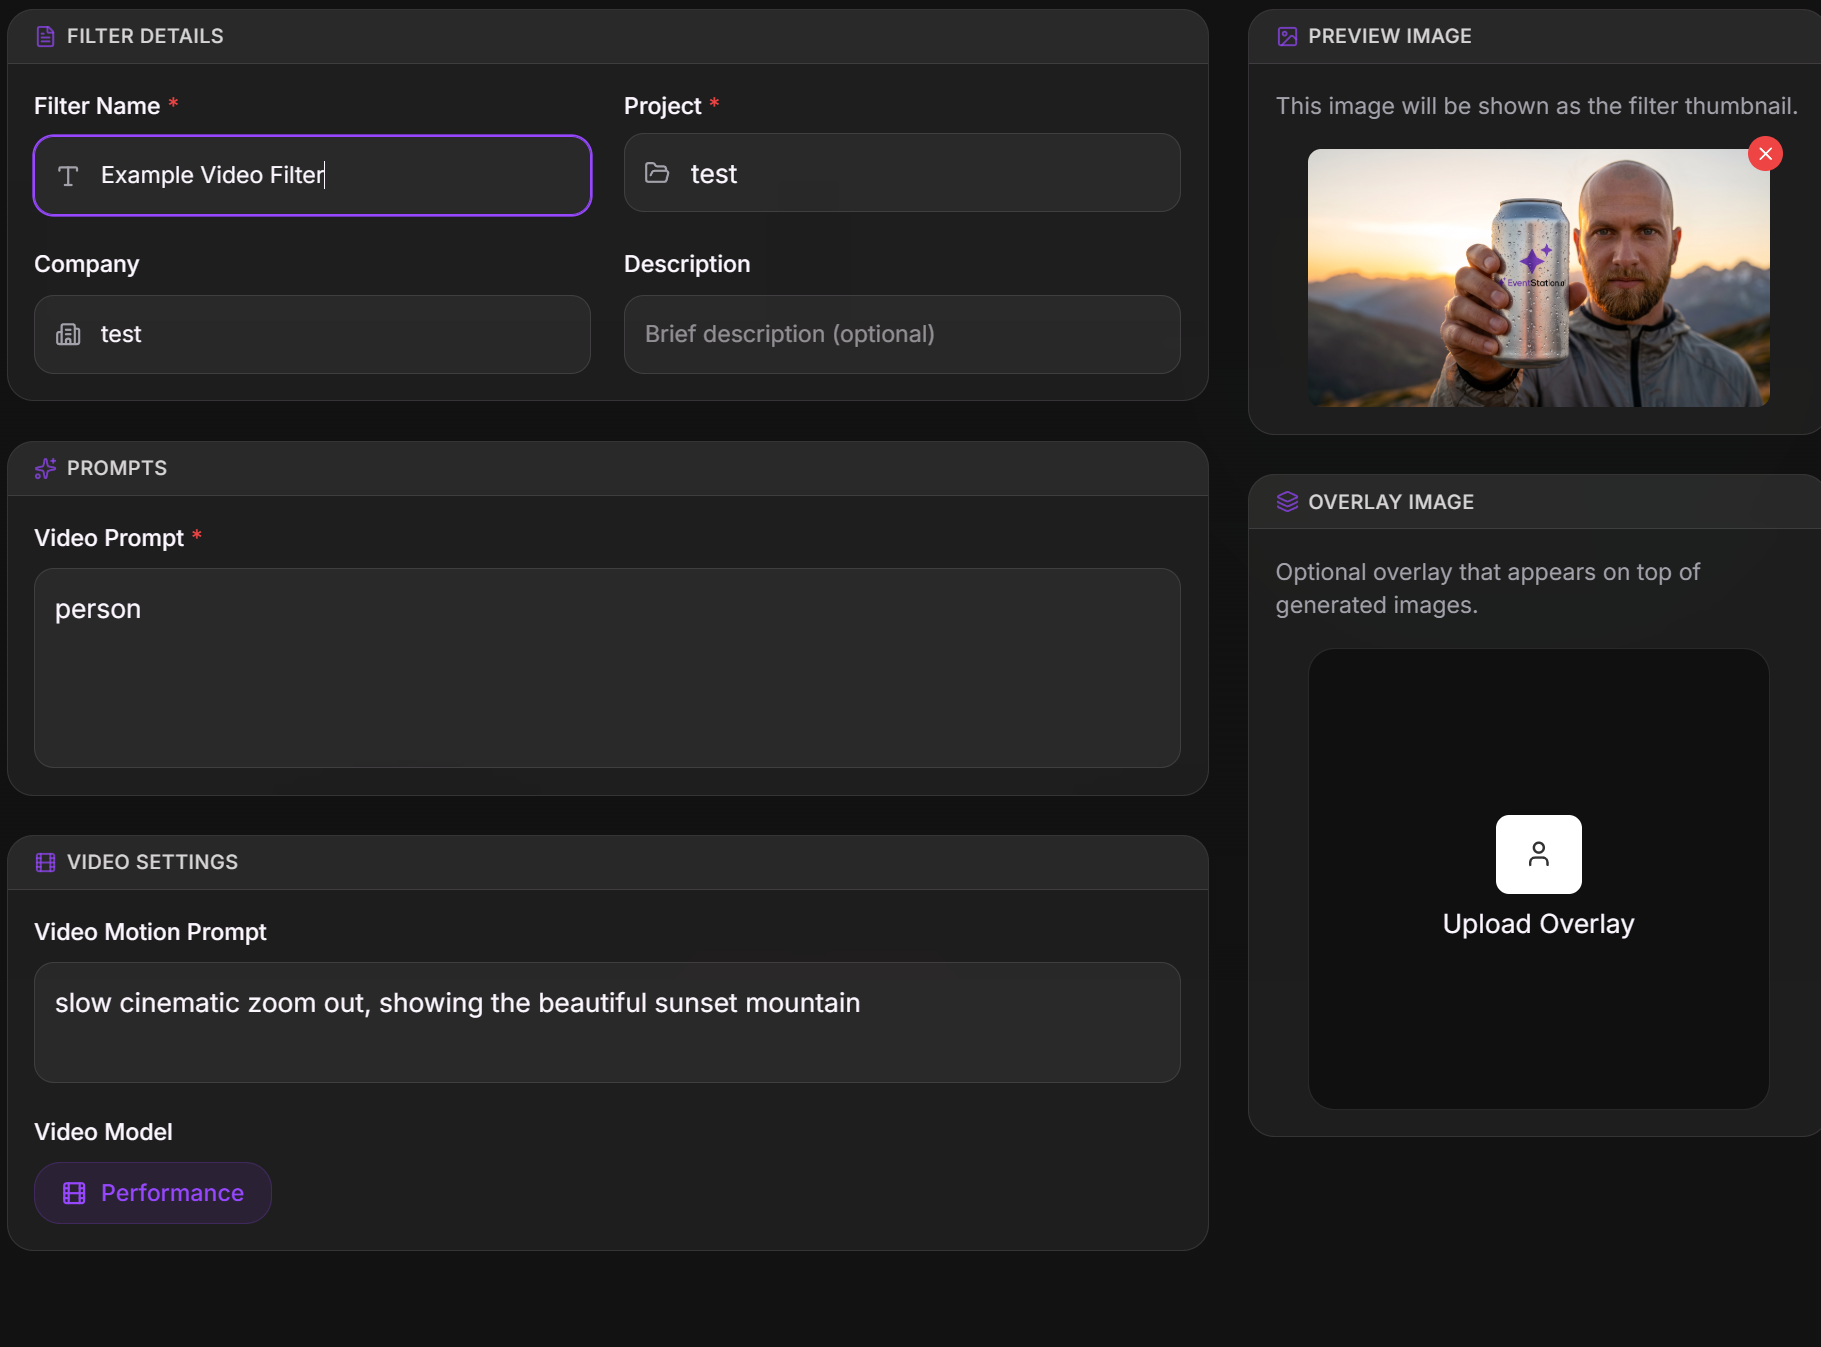
Write your video prompt in the video prompt field.
The prompt describes what should happen in the video.
⚠️ Important:
Video prompts should always be person-centric.
Describe what the person does, how they move, and how the camera behaves.
For detailed prompting instructions, see:
- Start Frame Prompting Guide
- Start & End Frame Prompting Guide
Example prompt: “slow cinematic zoom out, showing the beautiful sunset mountain“
Step 6: Preview the image
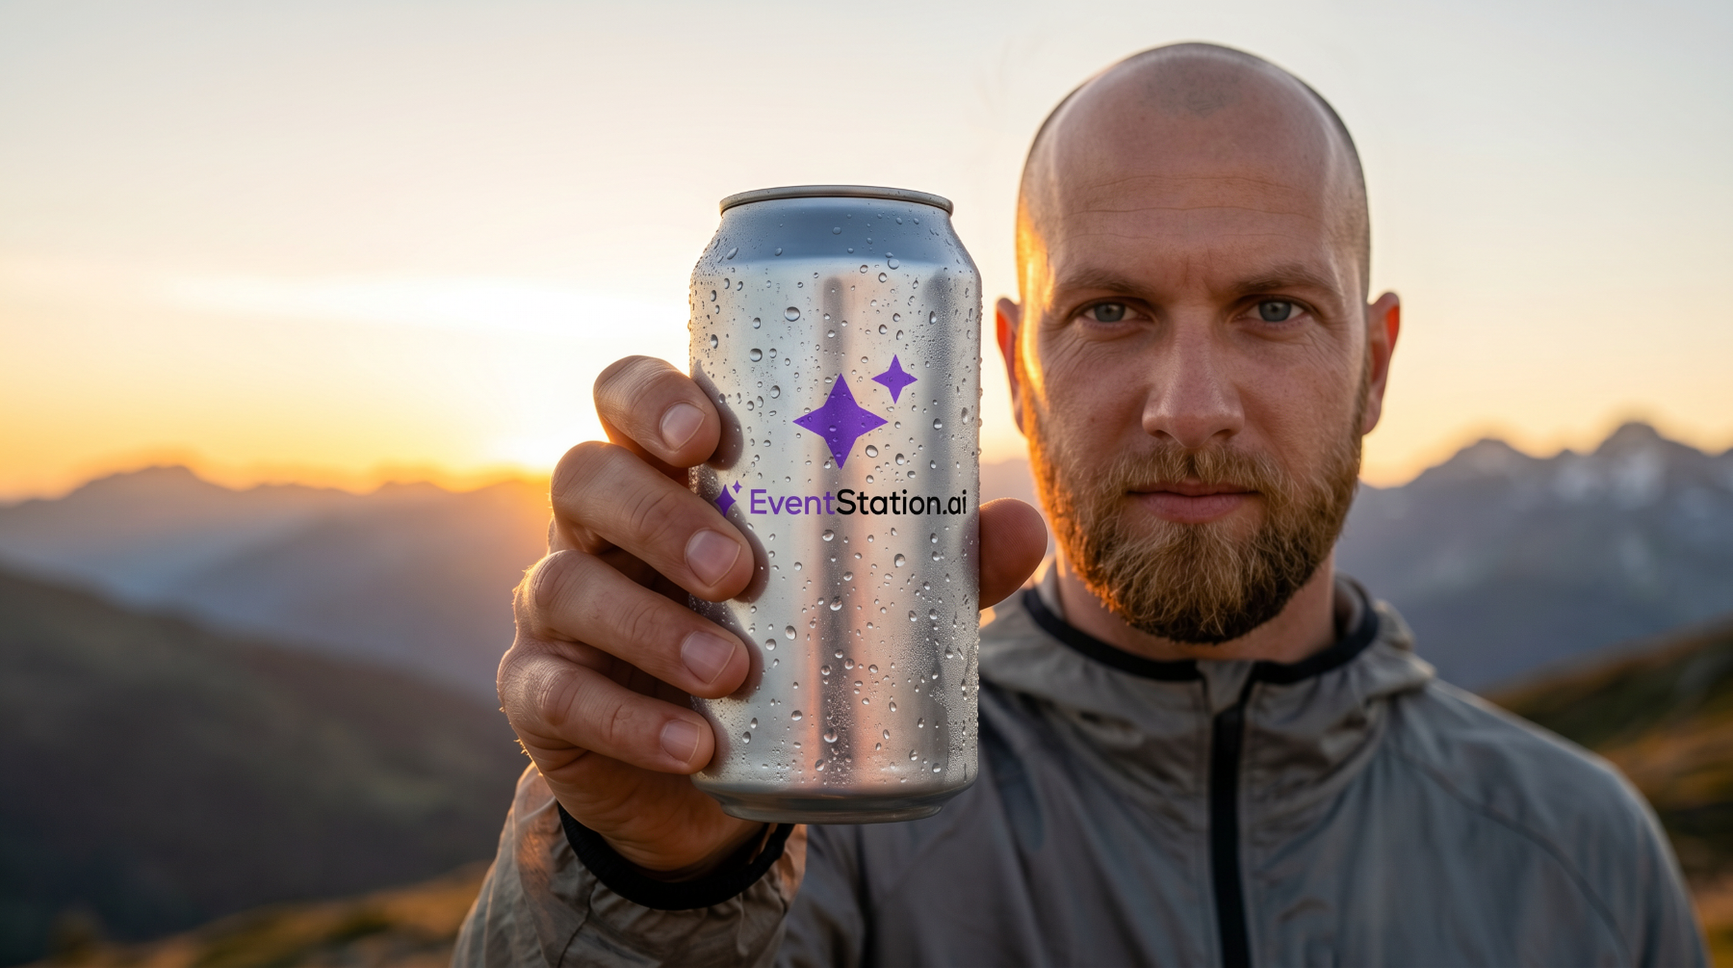
Click “Preview.”
This only generates the personalized image that will be used for the video.
Use Preview to check:
- Person quality
- Composition
- Outfit
- Style
- Scene
- Overall image result
💡 Tip:
Only continue to video generation once the preview image looks correct.
Step 7: Generate the video
Click “Generate Video.”
The system now animates the personalized image and creates the final video result.
Step 8: Review the result
Check if the video works as expected.
Look at:
- Person consistency
- Movement quality
- Camera motion
- Scene stability
- Overall result
If needed, adjust your prompt and generate another version.
Step 10: Create the filter
Once you are happy with the result, click “Create Filter” below the generated output.
Name your filter and you are ready to use it via API
Your video filter is now saved and can be used in your application.
Using Angle Creator for Start & End Frame Videos
What is Angle Creator?
Angle Creator helps you create new perspectives from an existing image.
You upload a concept image, describe the angle you want, and the system generates a 3×3 grid with different perspective variations.
You can then extract the best image and use it as a second frame.
When should I use Angle Creator?
Use Angle Creator when you need another perspective of the same concept.
This is especially useful for Start & End Frame videos.
Use it for:
- Camera pans
- Perspective changes
- Creating an end frame
- Creating a second angle
- Controlled video transitions
Why is Angle Creator useful for Start & End Frame videos?
Start & End Frame videos need two frames that visually belong together.
Angle Creator helps you create a second image that keeps the same concept but changes the perspective.
This makes it easier to create a smooth transition between:
- Start frame
- End frame
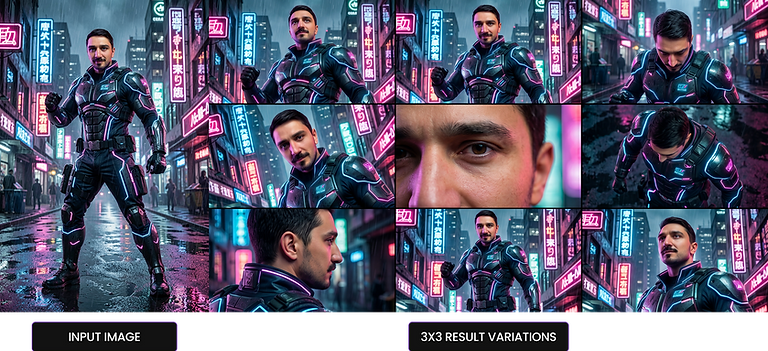
How to use Angle Creator
- Open the Conceptualizer.
- Select Angle Creator.
- Upload your image or concept.
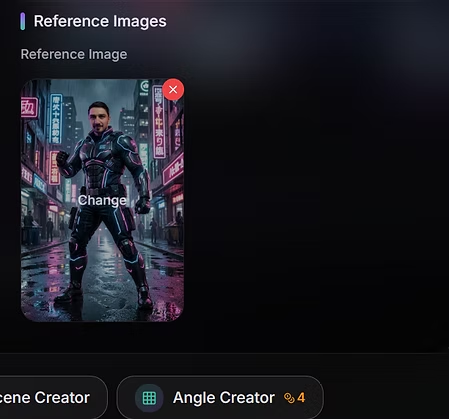
- Describe the angle you want.
- Generate the 3×3 grid.
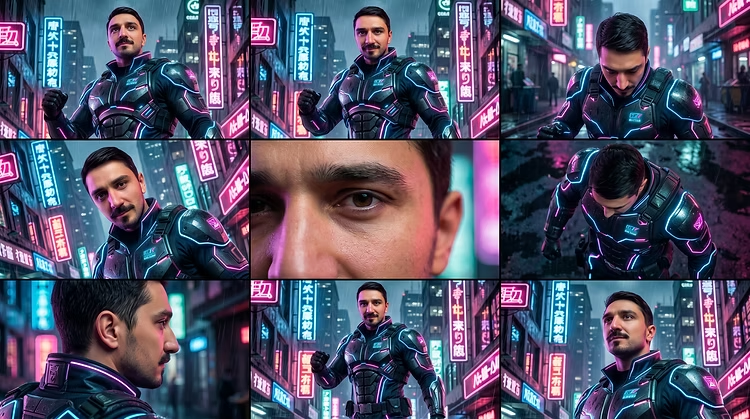
- Select the best result.
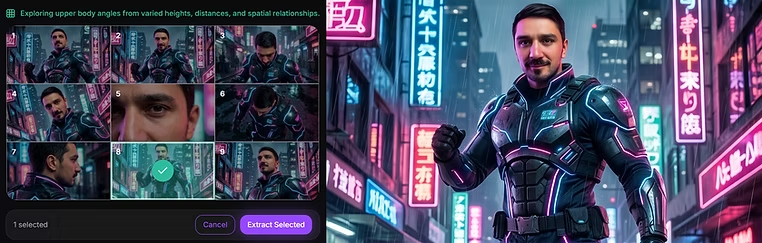
- Extract the image.
- Use it as your end frame for a Start & End Frame video.
Angle prompt examples
cinematic shots
creative angles
new perspectives
Upper body angle
Camera moved slightly to the left
Best practice
Use Angle Creator when the start and end frames should feel connected but show a different camera angle.
This helps create more controlled and realistic video transitions.